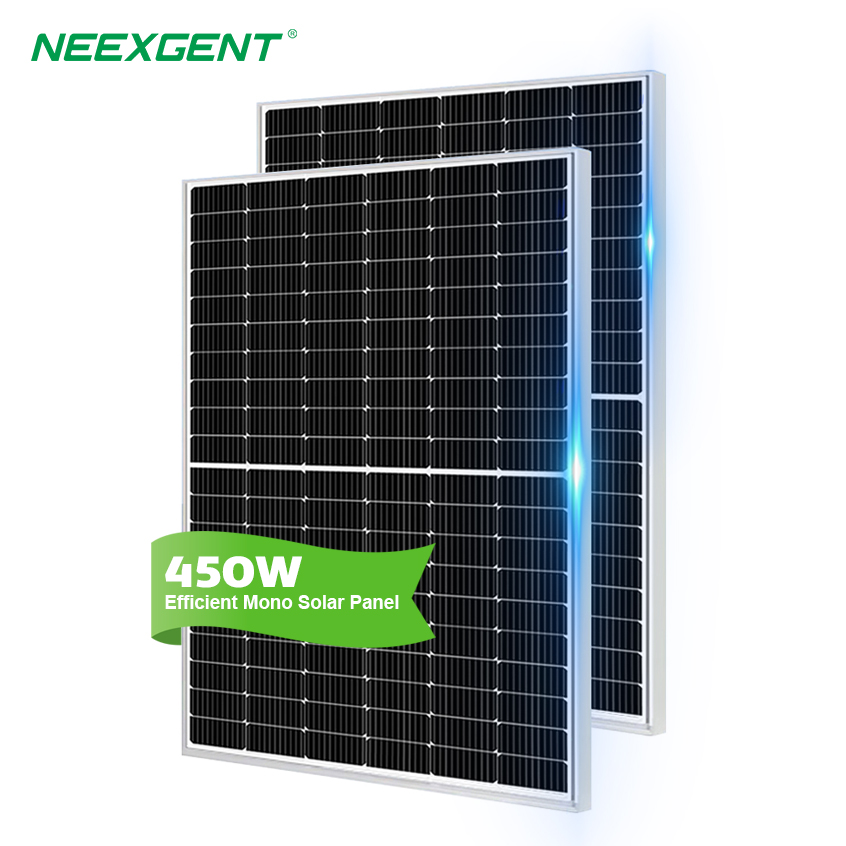
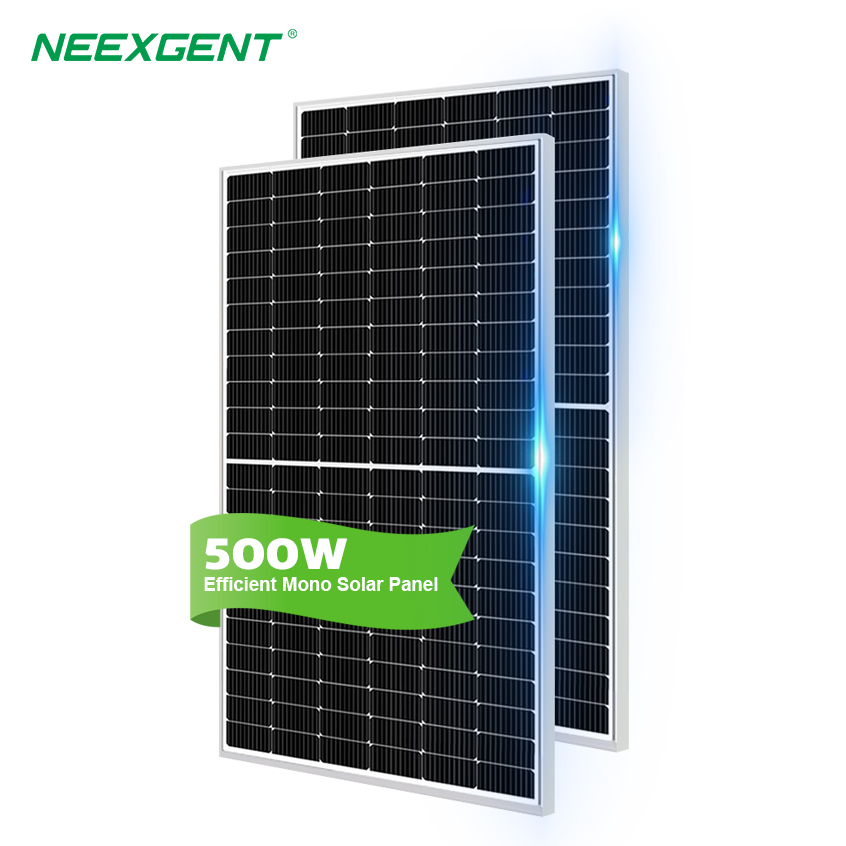
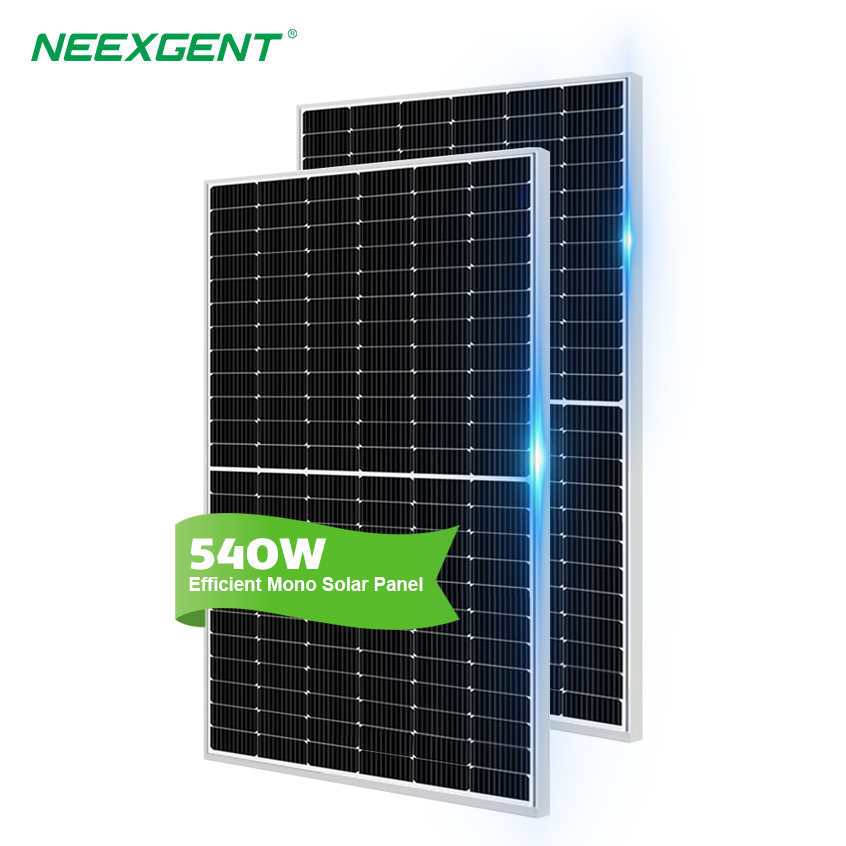
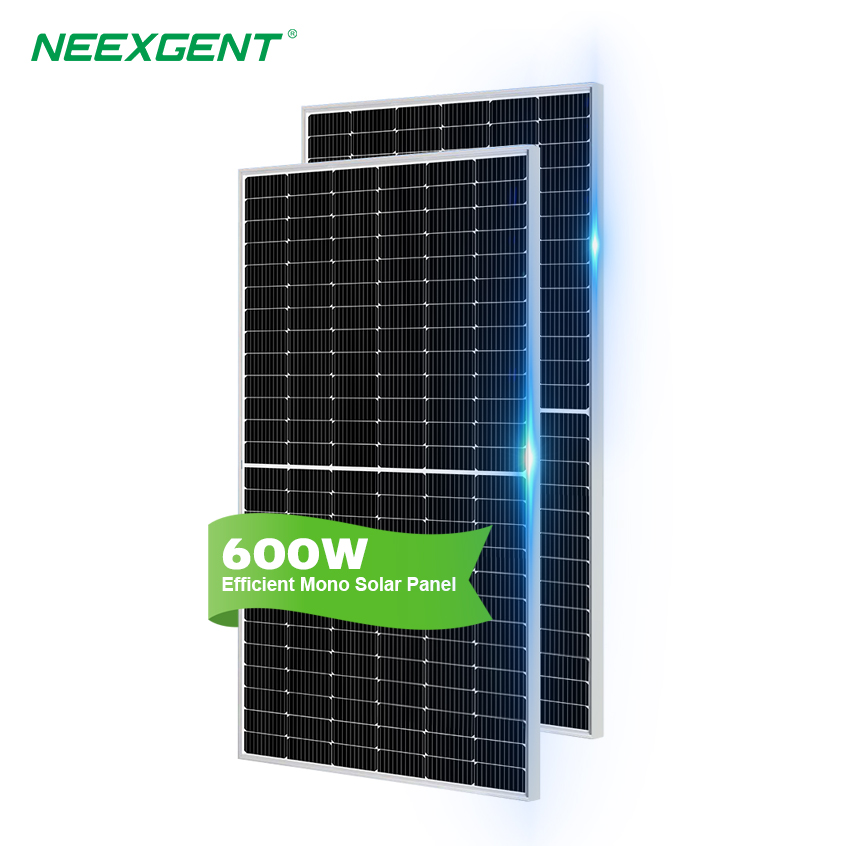
Solar panels have become an increasingly popular and cost-effective way to harness renewable energy. However, like any technology, they can sometimes encounter damage or performance issues. If you have a damaged solar panel, it's important to address the issue promptly to restore its efficiency and maximize its lifespan. In this article, we will guide you through the process of repairing a damaged solar panel, helping you get back to generating clean energy.
Step 1: Identify the Damage
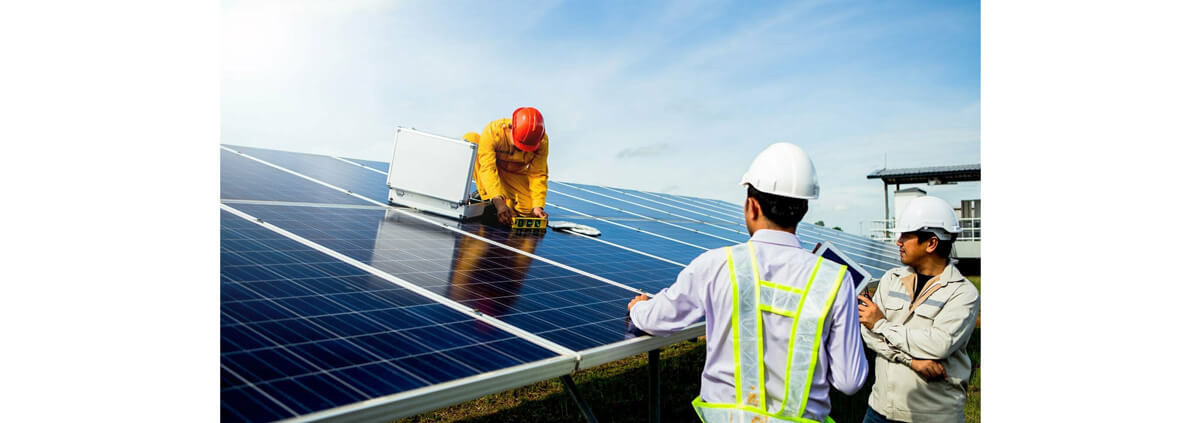
The first step in repairing a damaged solar panel is to carefully inspect it for any visible signs of damage. Look for cracks, chips, or other physical damage on the glass surface and check for loose or damaged electrical connections. Additionally, monitor the solar panel's output using a monitoring system or an inverter to assess any performance issues.
Step 2: Safety Precautions
Before attempting any repairs, ensure your personal safety by taking necessary precautions. Turn off the solar panel system and make sure the panel is disconnected from the electrical grid. Wear appropriate safety gear, such as gloves and safety glasses, to protect yourself from any potential hazards.
Step 3: Repairing Physical Damage
If you find any cracks or chips on the glass surface of the solar panel, you can attempt to repair them using a silicone sealant designed for solar panels. Clean the damaged area thoroughly and apply the sealant, following the manufacturer's instructions. Make sure the sealant is compatible with the solar panel's materials and does not interfere with light transmission.
For more extensive physical damage, such as shattered glass, it is recommended to contact a professional solar panel installer or manufacturer. They will have the expertise and tools to handle complex repairs safely.
Step 4: Fixing Electrical Connections
Faulty electrical connections can negatively impact the performance of your solar panel. Inspect the wiring for any loose or disconnected connections. Ensure that all electrical connections are securely fastened and tightened. If you notice damaged wires or connectors, replace them with compatible parts.
Step 5: Cleaning and Maintenance
Regular cleaning and maintenance are essential for optimizing the performance of your solar panels. Use a soft brush or cloth to remove any dirt, debris, or bird droppings from the surface. Be gentle to avoid causing further damage. Avoid using harsh chemicals or abrasive materials, as they can scratch or degrade the panel's protective coating.
Step 6: Professional Assistance
If you are unsure about any aspect of the repair process or encounter issues beyond your expertise, it is always advisable to seek professional assistance. Contact a licensed solar panel installer or the manufacturer to ensure the repair is done correctly and safely.
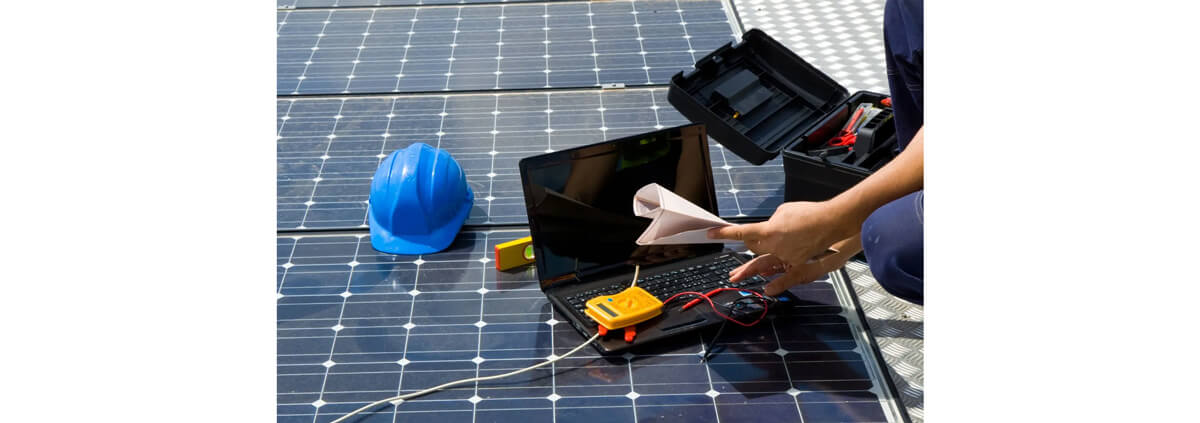
Repairing a damaged solar panel requires careful inspection, appropriate repairs, and regular maintenance. By promptly addressing any physical damage and ensuring electrical connections are secure, you can restore the efficiency of your solar panel system. Remember to prioritize your safety throughout the repair process and seek professional assistance when needed. With proper care and maintenance, your solar panel will continue to generate clean and sustainable energy for years to come.

