Since the use of solar energy is becoming more common and is more environmentally friendly, knowing how to incorporate the different parts in your solar installation is pertinent. One of them is the solar panel extension cable, which enables interconnection between the solar panes and other devices over a larger distance. Whether it is a home set-up, RV, or an off-grid unit, using an extension cable has to be done efficiently for excellent results. In the next parts of this tutorial, you will step by step learn how to effectively use a solar panel extension cable.
Choose the Right Extension Cable
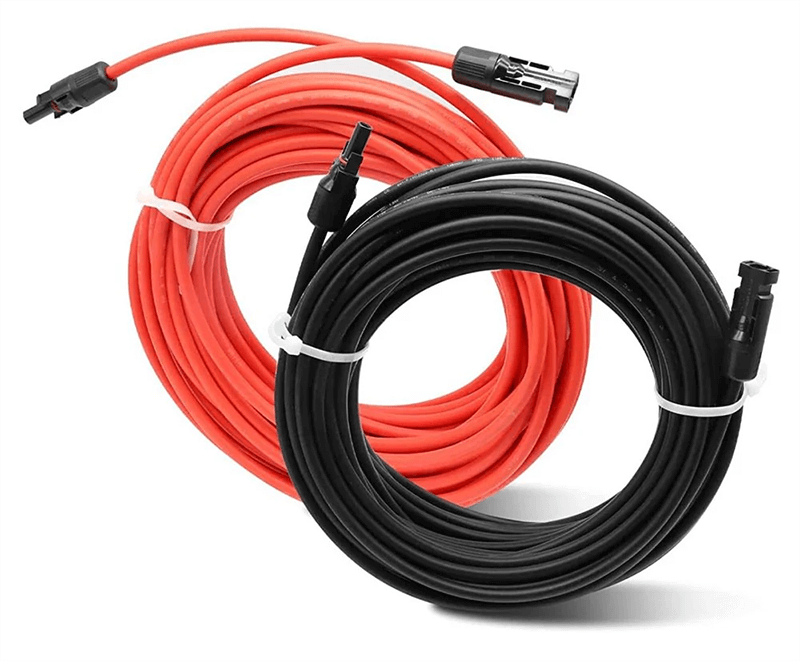
The first step is selecting the appropriate extension cable for your solar system. These include:
- Cable Length: Measure the distance between the solar panel and the item that you want to connect to such as the charge controller, radiator or even the battery. Select the cable length adequately such that the coupling is done in a safe manner without introducing losses due to length of cable used in carrying the signal from and too the solar panel.
- Wire Gauge (AWG): The thicker the wire (lower AWG number) the more the amount of current that can be passed through the wire without substantial energy losses. Discussed above for short distances, for long distances it is best to use thicker cables to lower the resistance and voltage drop.
- Compatibility: The extension cord should have the right connectors for the solar panel and pieces of equipment. Most of the time; MC4 connectors are used in solar panel systems but always check the connector type before purchasing a solar panel system.
Turn Off the System Before Installation
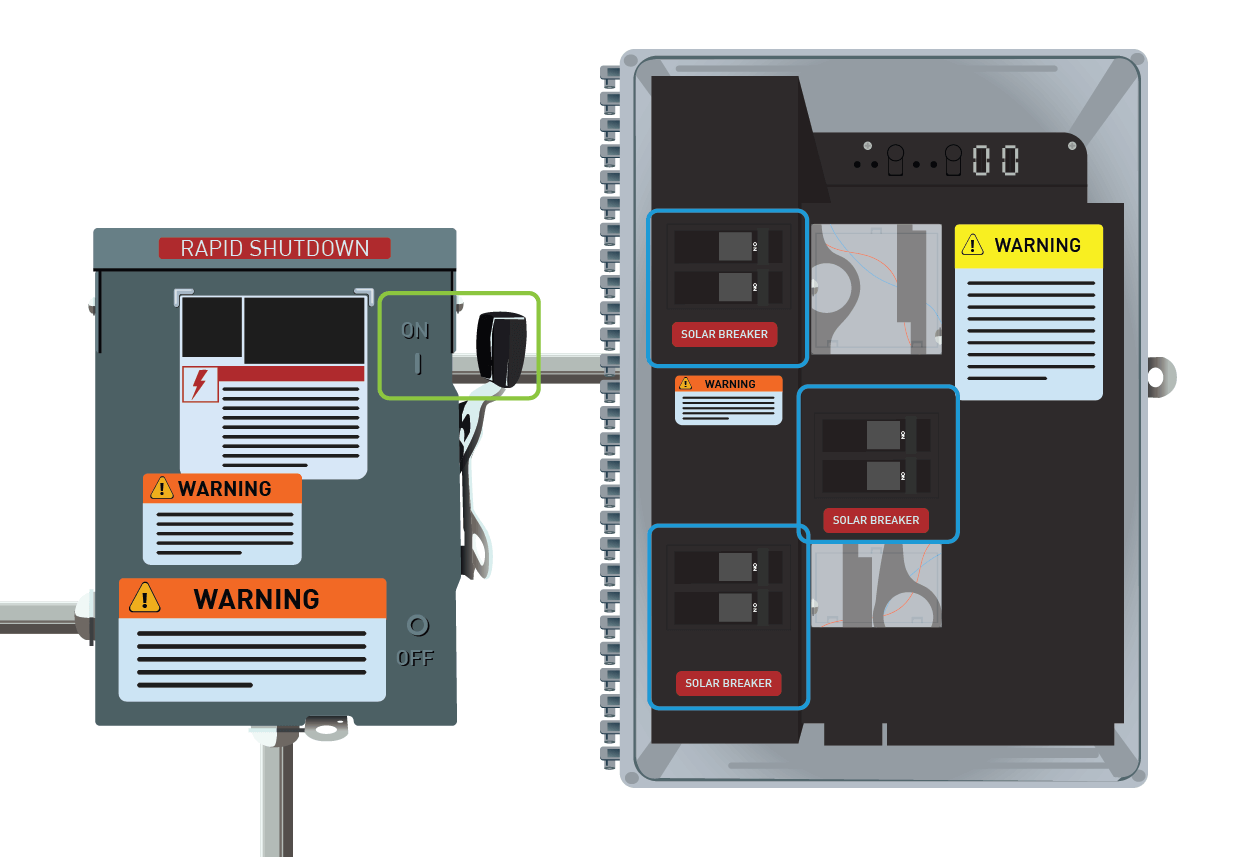
It’s important to also switch off every part of the solar system which include the inverter and charge controller among any other system parts that will be cut off before making connections. This makes everything safe and also eliminates the possibility of the system getting short circuits or damage.
Connecting the Extension Cable with the Solar Panel
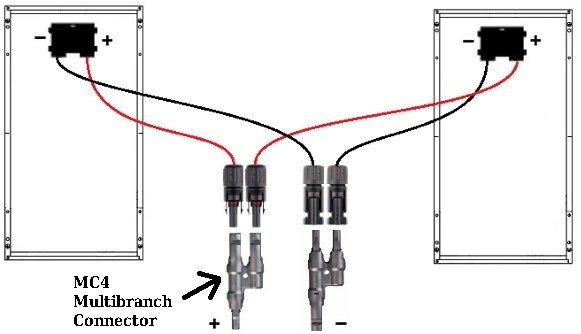
Not all solar arrays are delivered with enough cable length; for specific installations, some panels offered standard cables which are quite short. To increase the distance, attach the extension cord to the solar panel’s preinstalled cables: Use the MC4 Connectors: If you are dealing with MC4 connected solar panels, just connect the male end of the extension wire to the last solar panel’d female coupling, and the other end, the mounting panel male coupling end. MC4 connectors are very effective in that they fit well to prevent moisture and that wires are fastened so that when disconnected they need to be pressed so as to spring out.
Make Sure the Connectors are Tightly Fixed: After making the connection, the urge to tug the connectors may be instinctual in ensuring that the wire joints are well reinforced.
Pull the Extension Cable in its Place
After ensuring connection, pull the extension cable to the position of your choice while making sure it’s not pulled over the edges and places that could expose the cable to wear and tear. Provide a support structure to the cable in the form of ties to hold the cable in place to counter movements in future.
Do Not Allow the Cable to be Installed in an Unwanted Environment: Even though solar cables are made to be used outside and be more durable than the ordinary cables, still do your best to try and run the cable where it won’t be exposed to sun rays, lots of foot traffic, or places that will be kicked around. Good cable practice not only prolongs the working life of your facilities but it additionally improves safety too.
Connect the Cable to the Charge Controller, Battery or Inverter
Once the extension cable has been pulled to the desired length it is time to fix it on the other end of the solar power system. Depending on your setup, this may be:
- Charge Controller: For systems with a charge controller, the solar panel extension cable is extended to the charge controller’s input. Here extra battery space is charged by the controller with the power generated from the solar panel.
- Battery: In some systems, you may be able to plug the extension cable directly to the battery when you are using a solar power bank or a portable setup.
- Inverter: Where a solar panel is connected to an inverter, the polarity of the positive and negative terminals should be maintained to prevent damage to the appliance.
Check for Proper Operation
As soon as all the connections have been made, the solar system is put back on and the system is observed for proper performance:
- Check Voltage and Current: When testing systems, try to use a voltage / current measuring device also known as a multimeter at point in the system where a measure is made to check whether the extension cable is dropping a reasonable amount of energy.
- Inspect the Connections: Check and confirm if all connections are well done and all connectors are not experiencing overheating which maybe attributable to bad connections or poor connection.
- Monitor Power Output: Lastly, when you have installed all the solar panels, check the display of the inverter or charge controller to see whether you are generating optimal energy output.

Maintenance and Safety Tips
After installation, continuing to take care of your solar extension cable regularly will ensure that it performs well:
- Inspect Periodically: Look for any abrasions on the cable and make replacements after certain conditions that are reported as being rough. This will mean that if there are no gaps, there are every sign and fracture appears.
- Clean the Connectors: Dust or other contaminants like debris are known to affect the terminals and cause poor connection. Perform the cleaning at regular intervals to avoid such situations.
- Use Conduit for Protection: If it is necessary for the cable to be buried underground or run through walls, it is advisable to carry out the use of conduit to protect against rodents or any form of damage.
In many cases a solar panel extension cable is in aid to connect the solar panel to the rest of the solar energy system. The system provides the ability to place the panels as to expose them fully to sunlight and connect them to the other portion of the system safely. Using most of the cables available ensures optimal connection to components and correct installation, compliance to maintenance schedule, maximizes durability of the solar power system shelter level installed.

