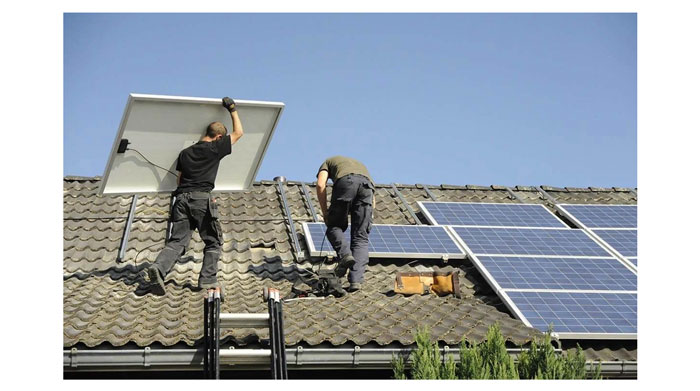
Creating your own solar panels can be a rewarding project, allowing you to reduce your electricity costs and contribute to sustainability. Below is a step-by-step guide to building solar panels for your home.
Materials Needed
-
Solar Cells: These are the core components of the panel and are available in different types (monocrystalline, polycrystalline, and thin-film). You can purchase them online or from specialized suppliers.
-
Plywood or MDF Board: This is the backing material to which the solar cells will be attached.
-
Soldering Equipment: Soldering iron, flux, and solder wire to connect the solar cells.
-
Silicone Sealant: Used to waterproof and secure the cells in place.
-
Bus Bars: To connect the solar cells together.
-
Glass Sheet: A tempered glass sheet to cover the panel and protect the solar cells.
-
Charge Controller: To regulate the voltage and prevent overcharging the batteries.
-
Batteries: To store the electricity generated.
-
Inverter: To convert the stored DC power into usable AC power.
-
Wiring and Connectors: To connect the components together.
-
Multimeter: For testing the voltage and current.
Step-by-Step Guide
-
Plan Your Panel Size
Determine the amount of electricity you want to generate, which will guide how many solar cells you need. Measure the space where you plan to install the panels to ensure they fit.
-
Prepare the Backing Board
Cut the plywood or MDF to the desired size. This will serve as the base for your solar cells.
-
Solder the Solar Cells
Solder the solar cells together using the bus bars. Each cell should be connected in series or parallel, depending on your desired voltage and current output.
-
Mount the Cells on the Board
Once the cells are connected, place them carefully on the backing board. Use silicone sealant to secure them in place and prevent any shifting or damage.
-
Add the Glass Sheet
Place a tempered glass sheet over the mounted cells. Secure it with silicone sealant or framing.
-
Connect the Panel to the Charge Controller
Attach wires to the output terminals of the solar panel and connect them to the charge controller. This will manage the flow of electricity into the battery storage.
-
Install Batteries and Inverter
Connect your batteries to the charge controller and wire the inverter to the batteries. The inverter will convert the stored DC electricity into AC power.
-
Test the Panel
Use a multimeter to test the voltage and ensure everything is connected properly. Check for any issues in the wiring or connections.
Solar Panel Output Estimations
|
Panel Configuration
|
Number of Cells
|
Voltage Output (V)
|
Current Output (A)
|
Power Output (W)
|
Efficiency (%)
|
|
6 Cells in Series
|
6
|
18V
|
3A
|
54W
|
20%
|
|
8 Cells in Series
|
8
|
24V
|
3A
|
72W
|
22%
|
|
10 Cells in Series
|
10
|
30V
|
3A
|
90W
|
24%
|
How different configurations of solar panels affect the power output based on the number of cells. By adjusting the number of cells and wiring them in series or parallel, you can tailor the panel's output to meet your home’s energy requirements.

