Contents:
Connecting a 12V inverter to a solar panel is a straightforward process, but it requires careful attention to ensure efficiency and safety. Below, we detail the steps involved, the equipment needed, and best practices for setting up your system.
Equipment Needed
Before starting, ensure you have the following:
-
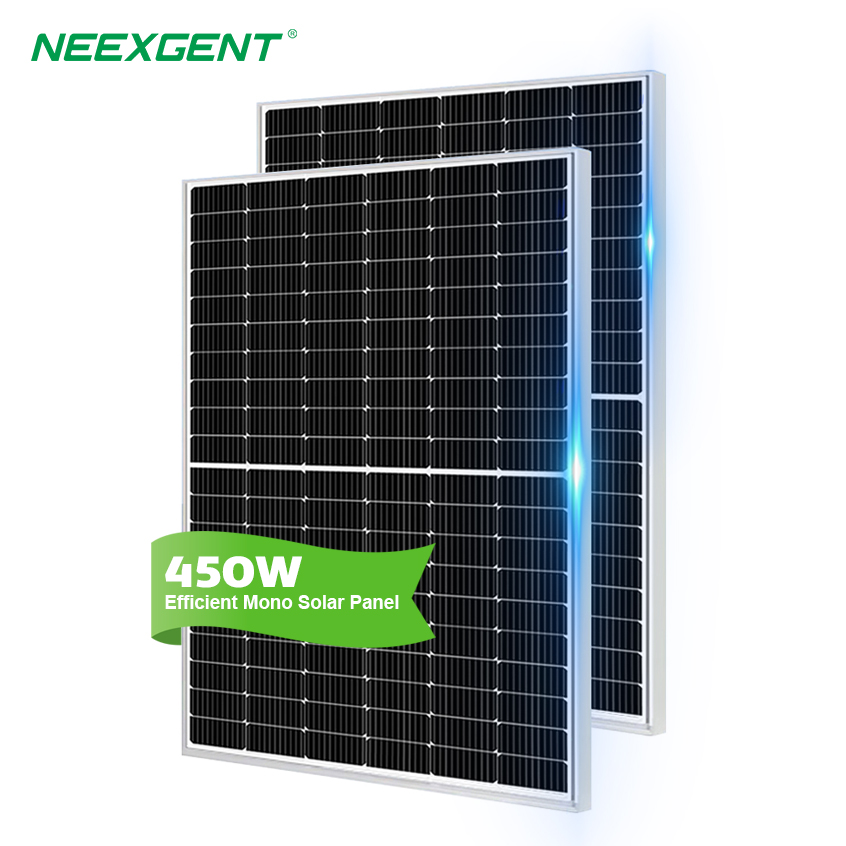
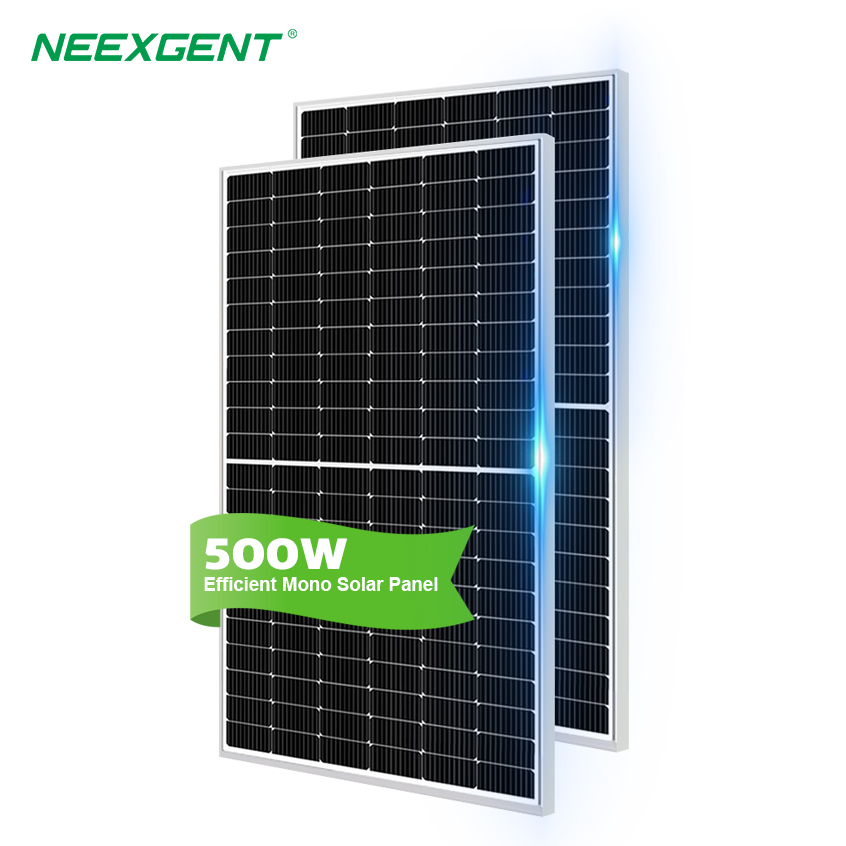
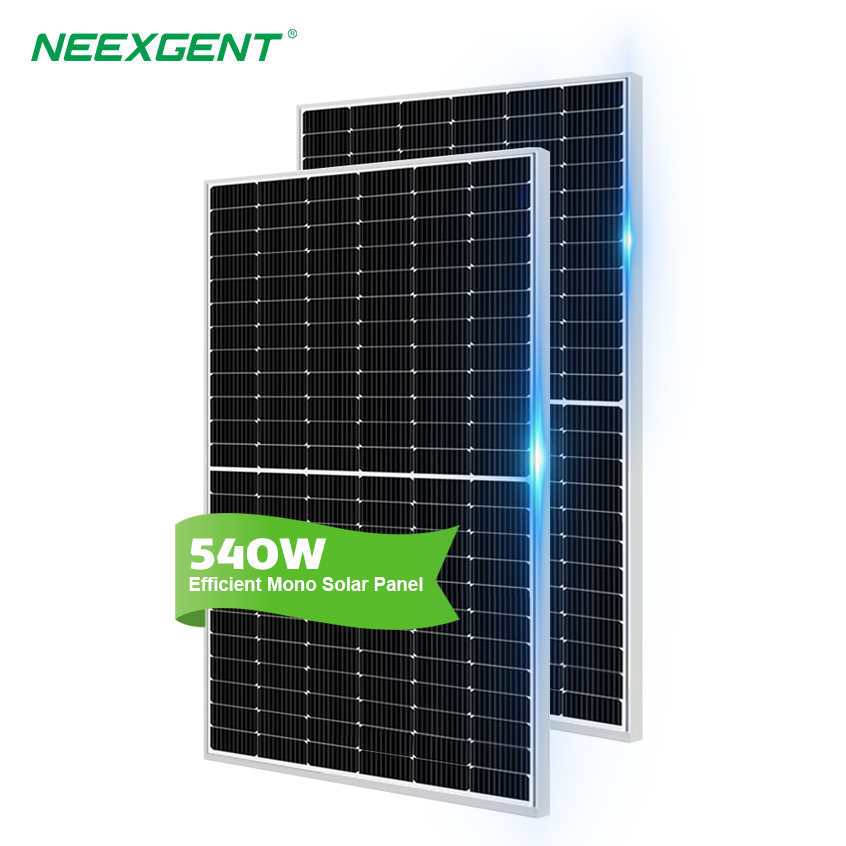
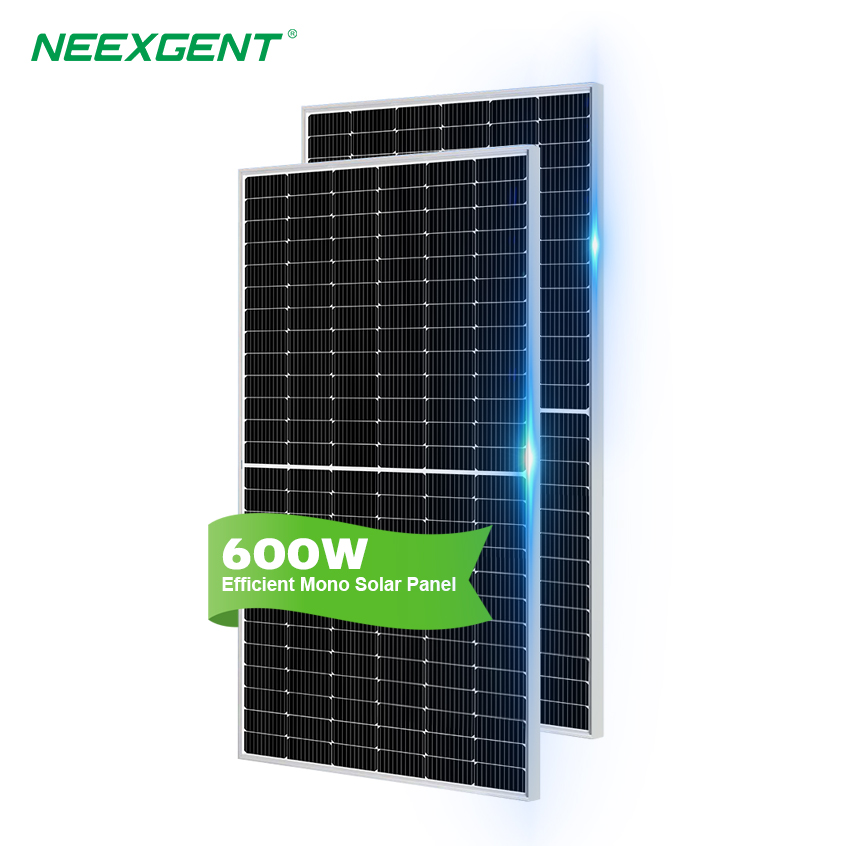
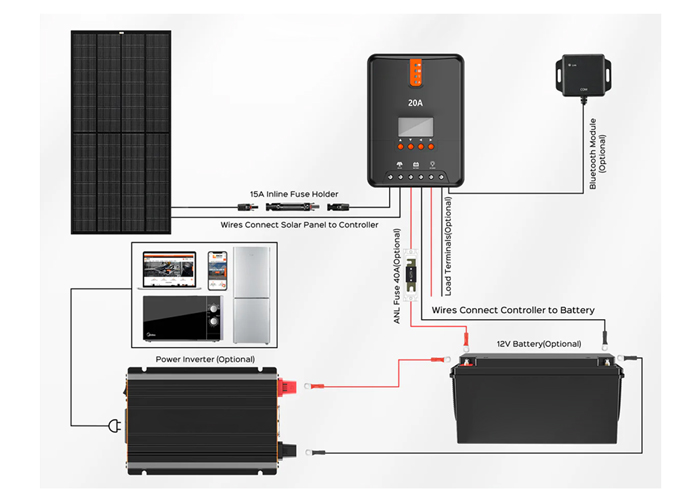
12V Solar Panel – Captures sunlight and converts it into DC power.
-
Charge Controller – Regulates the voltage and prevents overcharging of the battery.
-
Battery (12V) – Stores the energy generated by the solar panel.
-
12V Inverter – Converts DC power from the battery into AC power for household appliances.
-
Wires and Connectors – For connecting the components securely.
-
Fuses and Circuit Breakers – To protect the circuit from overloads.
Step-by-Step Connection
1. Set Up the Solar Panel
- Place the solar panel in an area with maximum sunlight exposure.
- Use a mounting bracket if necessary to secure the panel.
2. Connect the Solar Panel to the Charge Controller
- Use appropriately rated wires to connect the solar panel’s positive (+) and negative (-) terminals to the corresponding terminals on the charge controller.
- Ensure the connections are secure to avoid power loss.
3. Connect the Charge Controller to the Battery
- Attach the charge controller’s battery terminals to the positive (+) and negative (-) terminals of the 12V battery.
- Double-check polarity to prevent damage to the charge controller.
4. Install the Inverter
- Connect the inverter’s input terminals to the battery. Attach the positive (+) wire to the battery's positive terminal and the negative (-) wire to the battery's negative terminal.
- Ensure the inverter is switched off during this step to avoid electrical sparks.
5. Plug in Your Devices
- Switch on the inverter and connect your appliances to its AC output sockets. Ensure the inverter’s power rating matches your appliances to avoid overloads.
Important Tips for a Safe Setup
| Step |
Tip |
| Solar Panel Placement |
Place the panel in direct sunlight and avoid shading. |
| Wiring |
Use wires with appropriate gauge to handle the system's current. |
| Fuse Protection |
Install a fuse between the battery and inverter for added safety. |
| Testing |
Use a multimeter to verify voltage and current levels at each stage. |
| Maintenance |
Regularly clean the solar panel and inspect connections for corrosion. |
Monitoring and Optimizing Your System
After setting up the 12V inverter and solar panel system, it’s essential to monitor its performance and optimize efficiency. Here are some key points to consider:
Monitoring Tools
1. Solar Charge Controller Display
- Many charge controllers come with built-in displays showing voltage, current, and battery status.
- Regularly check these readings to ensure the system is operating within safe limits.
2. Inverter Indicators
- Modern inverters have LED indicators or digital displays showing output status, overload warnings, and fault conditions.
3. Smart Monitoring Systems
- Consider integrating Bluetooth or Wi-Fi-enabled monitoring devices to check system performance via your smartphone or computer.
Enhancing System Efficiency
| Optimization Measure |
Description |
| Battery Maintenance |
Ensure the battery is charged and discharged within recommended limits. |
| Panel Cleaning |
Remove dirt and debris from the solar panel to maximize sunlight absorption. |
| Inverter Sizing |
Use an inverter that matches your energy consumption requirements to minimize energy losses. |
| Component Placement |
Keep the inverter and charge controller in well-ventilated areas to prevent overheating. |
| Energy Conservation |
Use energy-efficient appliances to reduce the load on the inverter and battery. |
Troubleshooting Common Issues
Even with a well-planned setup, issues may arise. Here are some common problems and how to address them:
1. Inverter Not Turning On
- Check the battery voltage; it may be too low. Recharge the battery if necessary.
- Verify that all connections are secure and that the inverter’s input voltage range matches the battery output.
2. System Overheating
- Ensure the inverter and charge controller are placed in a ventilated area.
- Reduce the load on the system to prevent overuse.
3. Low Power Output
- Inspect the solar panel for dirt or shading, which can reduce efficiency.
- Confirm that the charge controller and inverter are functioning correctly.
Benefits of Using a 12V Inverter System
Connecting a 12V inverter to a solar panel provides several advantages:
-
Portability: Ideal for RVs, boats, or small off-grid setups due to its compact size.
-
Energy Independence: Powers essential appliances even during grid outages.
-
Cost Savings: Reduces reliance on grid electricity, leading to long-term savings.
-
Eco-Friendly Solution: Uses renewable energy, lowering your carbon footprint.
Safety Precautions
1. Always Use Proper Tools
- Use insulated tools to prevent accidental short circuits.
2. Disconnect Power During Maintenance
- Turn off the inverter and disconnect the battery before performing any maintenance.
3. Install Protective Components
- Add circuit breakers and fuses to protect the system from overloads and short circuits.
4. Keep Away from Moisture
- Ensure that all components, including the inverter, are protected from water or moisture to avoid damage.
By implementing these steps and tips, you can create a safe, efficient, and durable 12V inverter and solar panel setup. Regular monitoring, proper maintenance, and adherence to safety protocols will maximize the lifespan and performance of your system. Whether for off-grid living, backup power, or a small renewable energy project, this setup empowers you to harness clean energy with confidence and ease.
FAQs

